- /
- /
- /
- /
Scheduling Meetings with Zoom and Canvas
[This document was graciously prepared by Chris Parent.]
Adding a Zoom Link in Canvas
1. Go to your course
2. Click “Settings” (bottom of the left-side menu)
3. Click the “Navigation” tab

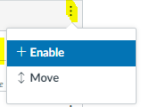
4. Click the three-dots settings next to “Panopto Video” and select “Enable”
5. Click the three-dots settings next to “Zoom” and select “Enable“
6. Click “Save” at the bottom of the page
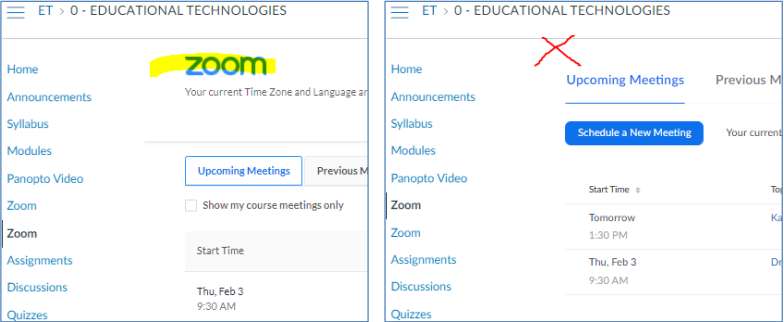
For the left-side menu, please select the one that has the Zoom icon in the upper-left corner.
Choosing this option for your Zoom meetings will result in the (optional) recordings to
automatically appear in the top level of the Panopto Video link.
The non-LTI version of Zoom is useful for a quicker way to log into Zoom.us with your
credentials, creating a Zoom meeting for your students without alerting the whole class. 99% of
the time you will want to use the Zoom link on the left with the Zoom icon.
Creating a Zoom Meeting
1. Click on Zoom in Canvas
2. Click on “Schedule a New Meeting”

3. Fill in the fields:
- Topic: <whatever your course or session is to be called>
- Description: <unnecessary>
- When: <choose a date and time<>
- Duration: <select how long – it’s okay if your actual session goes longer than
what you put down here>> - Time Zone: <don’t touch>
- Recurring Meeting: If you are scheduling a meeting to run more than
once, this will be the setting to select.
Recurring Meeting

Figure 1 – Recurring Meeting options
- Registration: <leave unchecked>
- Security: <maybe enable Waiting Room, but probably unnecessary>
- Video: <double-check that Participant is also “on”>
- Audio: <leave as “Telephone and Computer Audio”>
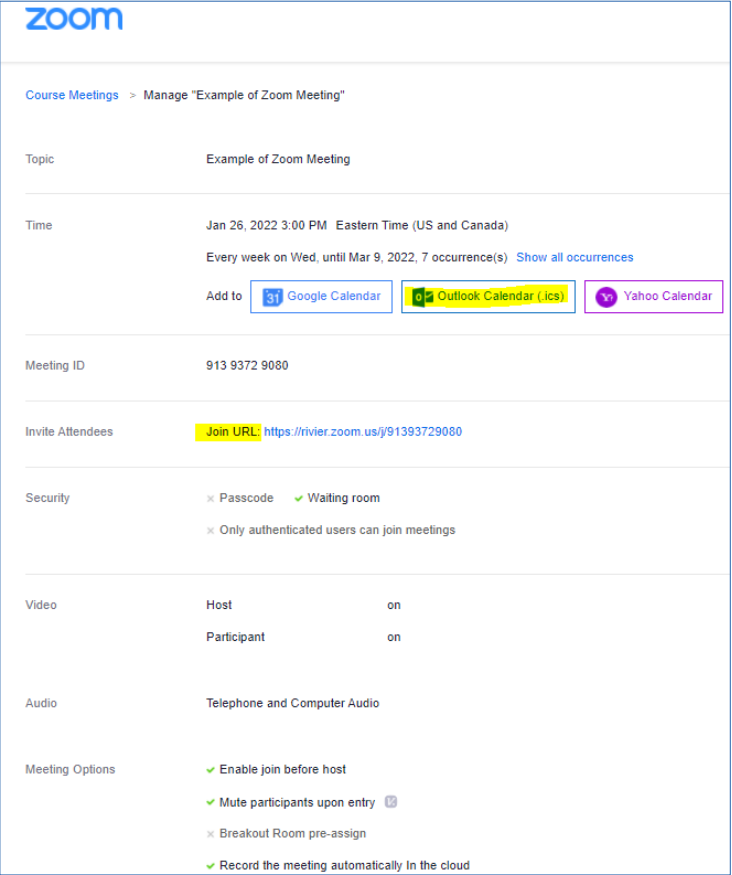
Meeting Options:
i. The important one here is “Record the meeting” – if you select this, the
meeting will automatically record as soon as you enter the meeting. This is
good for forgetful people who may not remember to turn it on during the
meeting.
ii. “Enable join before host” is good if you are not using the Waiting Room
feature under Security, above
iii. “Mute participants upon entry” is good practice
iv. Click “Save”
You can now save the meeting into your Outlook calendar, and/or copy and send the “Join URL”
link to participants via Announcements or email.
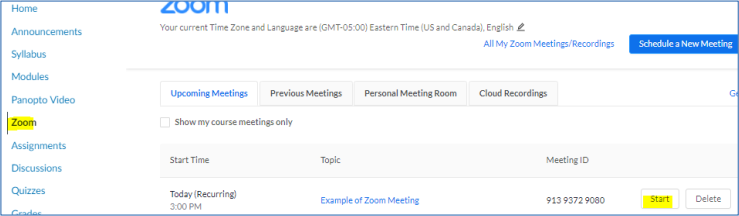
Starting Your Zoom Meeting
1. Go to your Canvas course
2. Click on Zoom (left-side menu item)
3. Find your Zoom meeting
4. Click “Start”
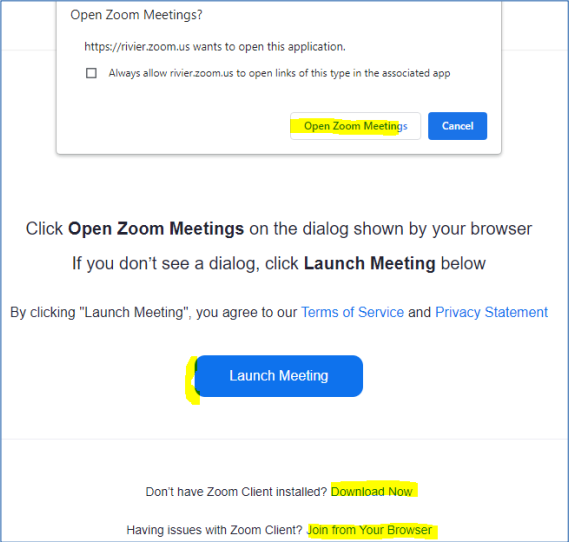
If you are on your computer, you will likely get a message like this. Launch the meeting, or
Open Zoom Meetings. Optionally, Download Now or Join from Your Browser.
Participating in a Zoom Meeting
![]()
1. Mute: Toggle your microphone on/off
2. Stop Video: Toggle your video on/off
3. Security: Select various security options for your participants
4. Participants: Bring up/collapse a list of meeting participants
5. Polls: Create or distribute polls
6. Chat: Bring up/collapse the chat options
7. Share Screen: How to share your screen with others
8. Pause/stop Recording:
9. Live Transcript: Toggle on to generate a live chat transcript for participants.
10. Reactions: Give a silent reaction to the presenter (ex: thumbs up, go slower, etc.)
11. End: End the session for everyone
Share Screen
1. Click the green “Share Screen” button
2. Choose Basic options, like one of your open applications
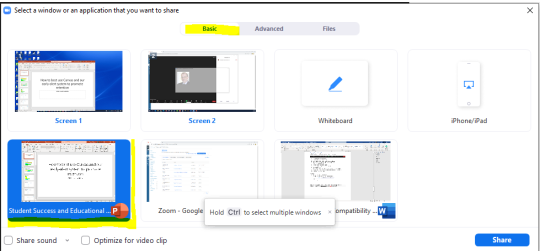
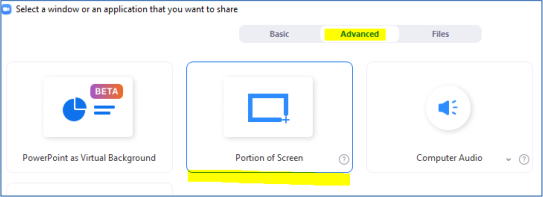
3. For more control, choose Advanced and then a Portion of Screen
Retrieve your Recording – Panopto Video
After the meeting ends, you will receive a Zoom email that your cloud recording is available. Your
recording will be available under Panopto Video in Canvas, not by the Zoom link.
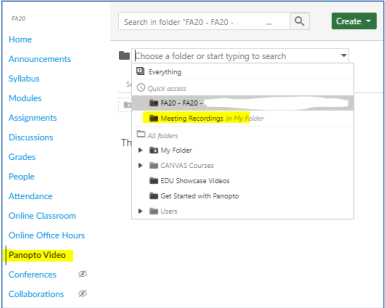
1. Click on your course
2. Click on “Panopto Video”
3. Your video should be on that top level.
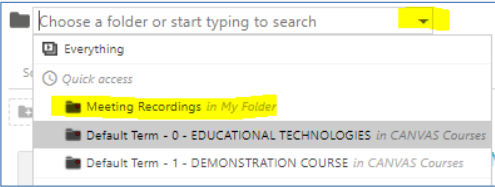
a. If it is not, it will likely be under the Dropdown, and Meeting Recordings
Share your Recording – Panopto Video
1. Go to your Canvas course
2. Click “Panopto Video”
3. Find your video
a. Reminder that your video me be under “Meeting Recordings” in My Folder
4. Hover a recording and select “Share”
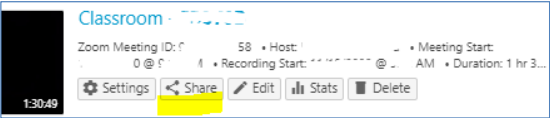
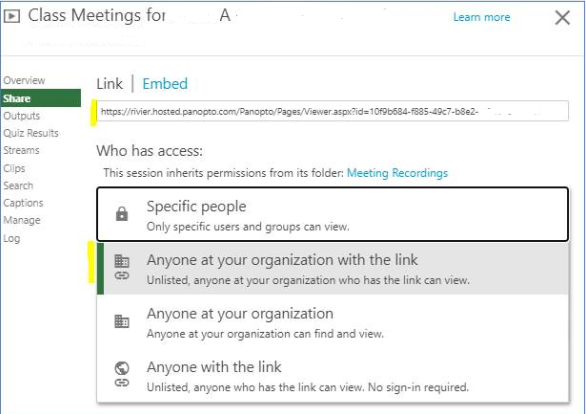
5. You can share the recording link with “Specific people” (enter your students) or “Anyone
at your organization.”
It is likely easier to share the link with “Anyone at your organization” by adding
the link to an Announcement, or Discussion, or as a link under Modules.
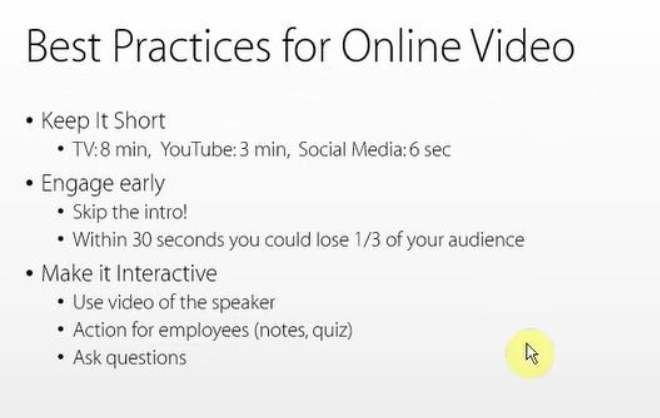
Best Practices for Online Video